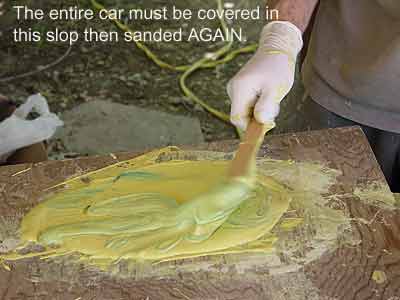
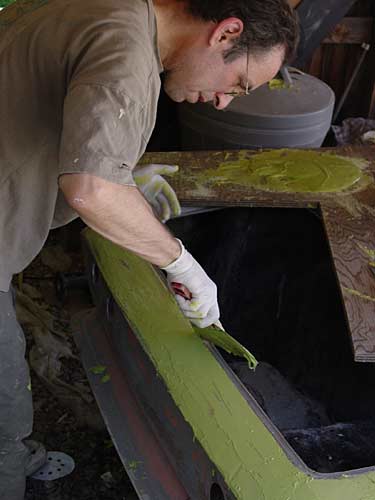
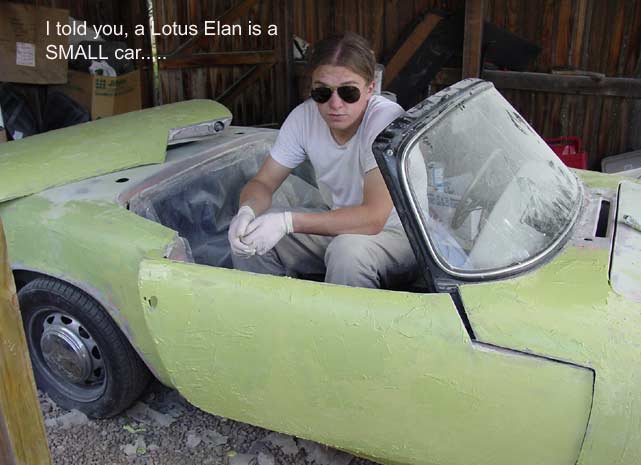
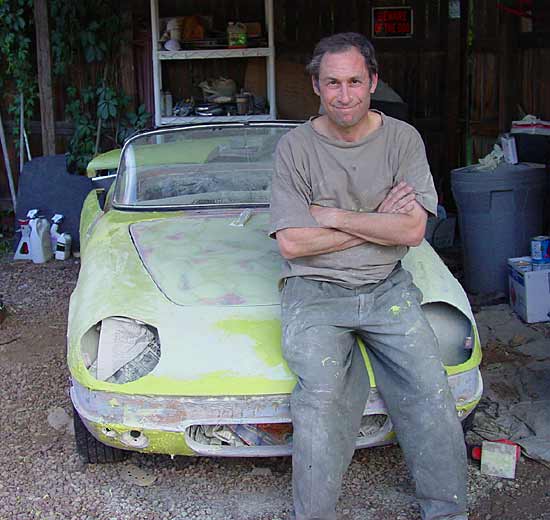
FUN WITH
BODY PUTTY
|
|||||||||||||


|
The AMAZING BRAIN ADVENTURE's MOST POPULAR PAGES:
Your Amazing Brain Adventure is a web site all about Tickling Your Amygdala- i.e. turning on the best part of your brain as easy as clicking on a light switch. This is done as easily as imagining a feather inside of your head stimulating a compass, the amygdala. The amygdala is a set of twin organs, a part of your brain that sits right in between the most advance part of your brain- the frontal lobes and pre-frontal cortex- and the most primitive part of your brain- your "reptile brain" and brain stem. By tickling your amygdala you instantly and directly increase creativity, intelligence, pleasure, and also make possible a spontaneous natural processes known as "paranormal abilities", although such things as telepathy and ESP are really as natural as breathing, or as easy doing simple math in your head. The ability to self stimulate the amygdala by something as simple as thought has been proven in laboratory experiments, such as those conducted at Harvard University research labs, 1999-2009, and can be tracked with modern brain scanning machines such as fMRI and PET... Indeed, thought is faster than light.
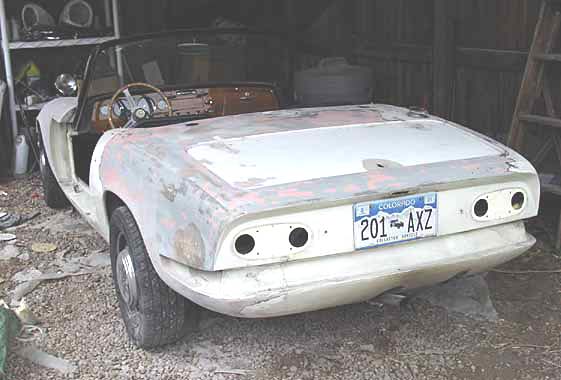
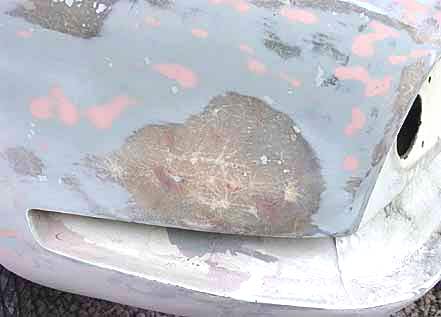
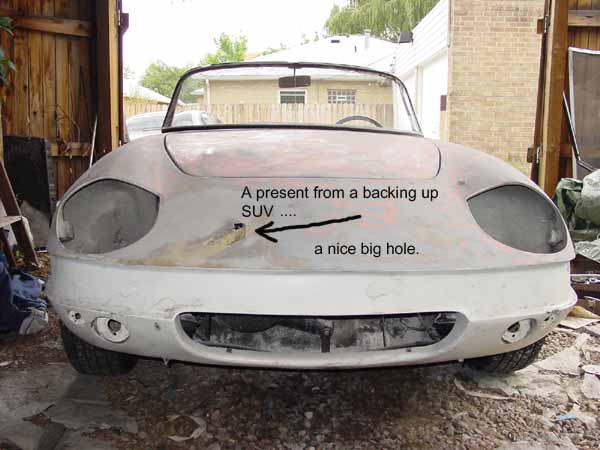
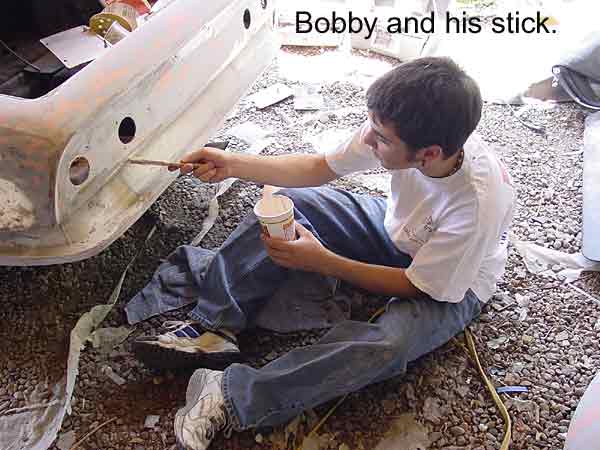
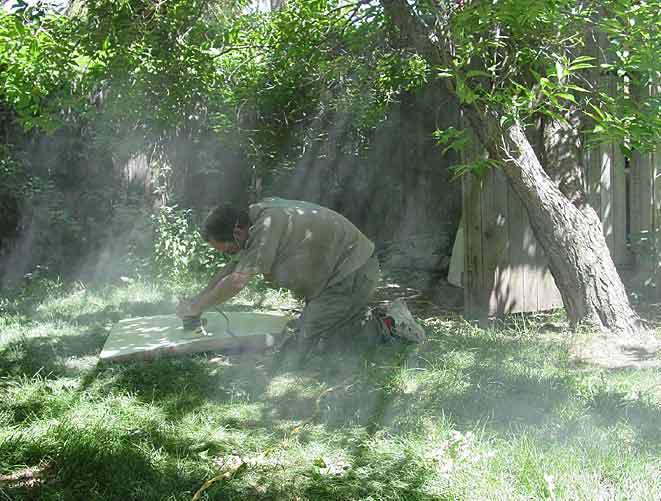
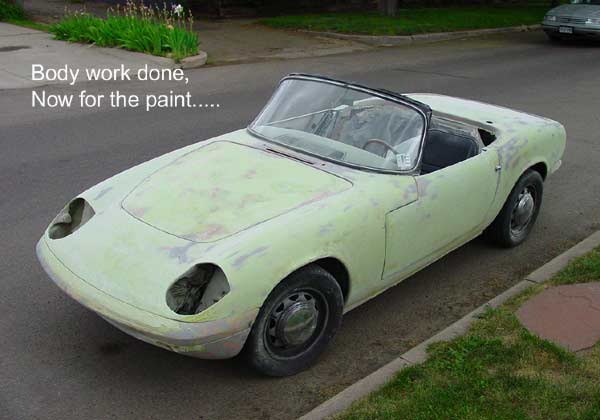
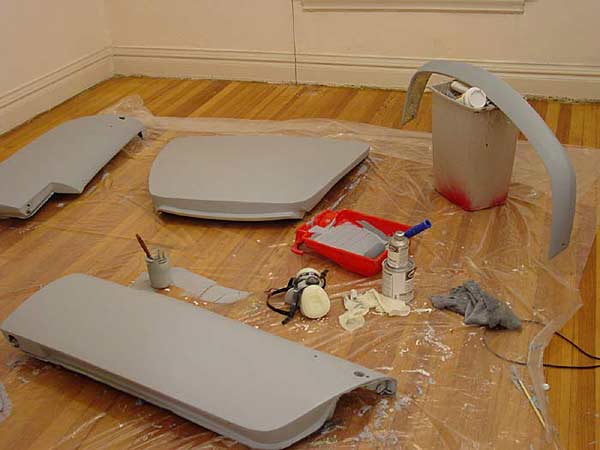
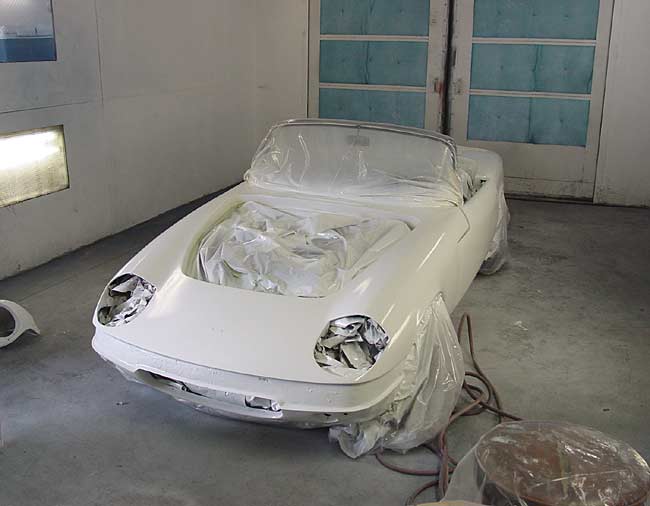
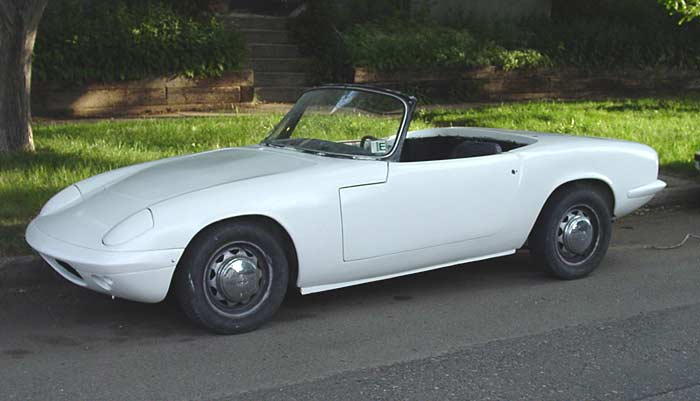
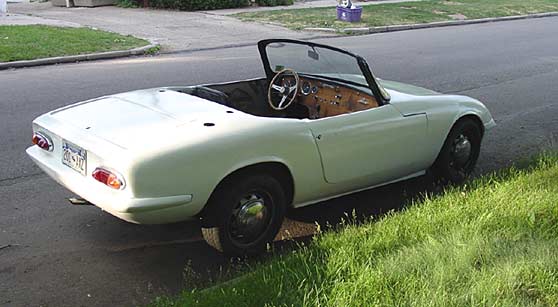
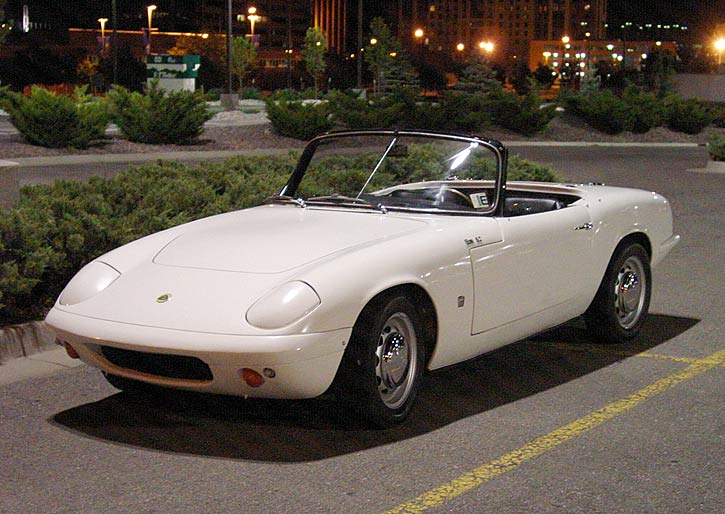
Other sites of interest: EasyPaintYourCar.com is a painting site dedicated to learning how to paint a car yourself, even if you've never painted a car before. You can refinish your car to professional standards at home, better than if you take it to someone else, and enjoy doing it at a fraction of the cost of having it done in an expensive shop. You can repair dents, rust, and use the most durable real automotive paint, and even learn to apply it without any special or expensive gear, in a safe and enjoyable manner. Paint your car in your garage, car port, or even driveway. You can spray, use an HVLP gun, or even use a roller.
Easy Make A Kindle and Your Own Publishing are sites about self-publishing and writing, and how any person can publish materials, print, online, and electronic books. You can drop out of the corporate slave labor rat race and own your own life by writing and distributing your own books on the subject that you know best.
InkJetHelper.com is a web site about escaping from the ridiculous cost of ink jet printer ink refilling- and refilling your printer for pennies instead of $70 a shot. It also has useful tips about maintaining ink jet printers, especially Canon brand printers.
Julia Lu Painting is all about the creative works of Chinese painter Julia Lu, a modern master of oil and water color painting. Julia shares her creative secrets, ideas, as well as her art work.
Off-site links Neil on Lulu Car On Lulu Tribe Blogger Wordpress Cookbook Space PaintWordpress Tripod 2 Google Wands Amazon B&N Kindle Facebook Linked GooglePlus Coast2Coast Viewzone YouTube 2 Blogtalk 1 2 3 4 5 6 7 8 9 1 2 3 4 5 6 7 8 9 1 2 3 4 5 6 7 8 9 1 2 3 4 5 6 7 8 9 a b c d e f a b c e f g h i 8 7 6 5 4 3 1 2 a b c d e f g h i a b c d e f g h i j k l m n o p q r s r u v w x y |